
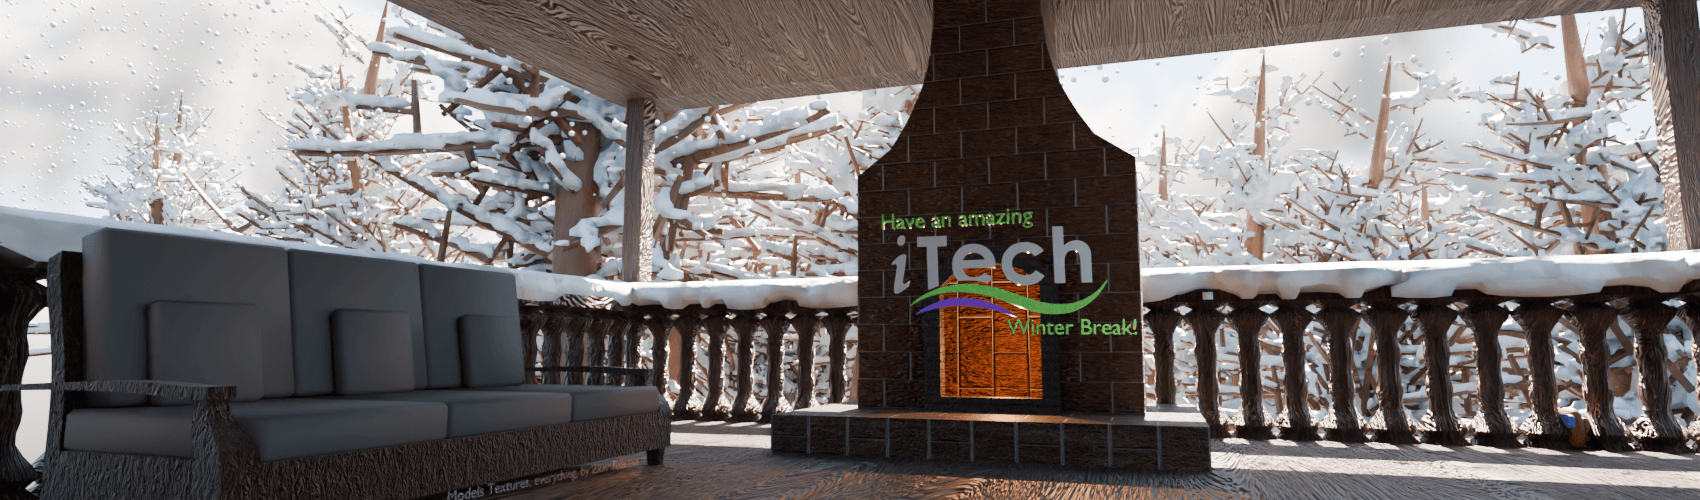
This year 2024 – iTech 11th grader Zion put this Blender Rendered scene together, great job Zion!
Hi, I’m Mr. Hurst, iTech High School Engineering teacher and Visual Media Publication Teacher, in this course I teach the balance of form and function to students. Here I am sharing a little of this design I put on our school website, as of right now we are in a project learning how to use the 3D design software, Blender.
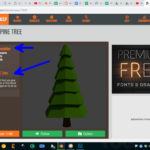
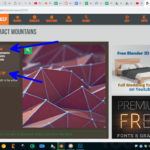
I started designing with these blend files as a base to begin from.
Credit to RohWedder for the tree and Zerba for the great Abstract Mountains for inspiration and a good starting place as a designer, this saves time to assemble already designed pieces and gets the artistic vision out of my head ready for you all to enjoy.
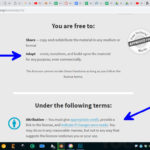
This BlendSwap site is a great resource for .blend files that are ready to go, and free. The free subscription allows for 20 downloads per month, which for my uses is perfect.
Remember to attribute credit when and where it’s due.

Designing from the camera’s perspective with the iTech website homepage in mind at the resolution 1700 by 500. I knew I also needed to leave extra space on the right and left for cropping on smaller screens, so I kept all the text in the center. Notice how outside of the cropped camera view there is still scene it’s just ignored. This works great for designing with a certain size or camera angle in mind, while when designing with a 360 degree camera like the Pre-Engineering & Design Blender Roller Coaster project this year, as a designer you need to consider everything in the scene, not just what’s in frame.
In Blender you can load fun fonts, like this “Lobster” font from Google.
Also give font a little “extrude” settings to give it depth.


To fill the hills with trees I created a ParticleSystem and put a few thousand trees set as the render object that is being instanced onto the faces of the abstract hills. I also had to create a forced global rotation to make sure all the trees are upright. I also set it to have random sized trees. This allows me to quickly and easily have the tress all over the mountains without manually setting each of those objects.
For the iTech Logo, I designed it in Inkscape which is a vector editor much like Adobe Illustrator, it’s just open-source and I learned how to use it before learning Illustrator so it’s my default go to for vector design work, although I use and teach both. Once imported the SVG curve shape, I extruded it, then applied the Emission material to the “i” and swooshes that emits green light so that it glows and looks awesome.


Blender allows you to set fancy settings like “depth of field” for the camera to have some elements of the render in focus and others be blurry. Much like Mr. Wyckoffs photography class is learning how to use camera settings to take pictures. This allows for simulated camera settings, they are accurate as well if you wanted to practice modifying the aperture and lens sizes or try out preset lenses to popular Canon or Nikon, even smartphone cameras like various versions of iPhone, Samsung, GoPro Cameras and more.